Recording Good Audio From a Closet
The Reality
I record voiceover in a busy apartment complex in the middle of Bangkok. Being a pet-friendly place, the sounds of yippy dogs barking are constantly in the background. Thin walls and cheap windows mean I can hear the neighbor coughing as well as a constant stream of motorbikes driving past outside. After losing a number of teeth earlier in life, vocal issues such as slurring and difficulty in pronunciation add another layer of challenges to any of my recorded voiceovers.
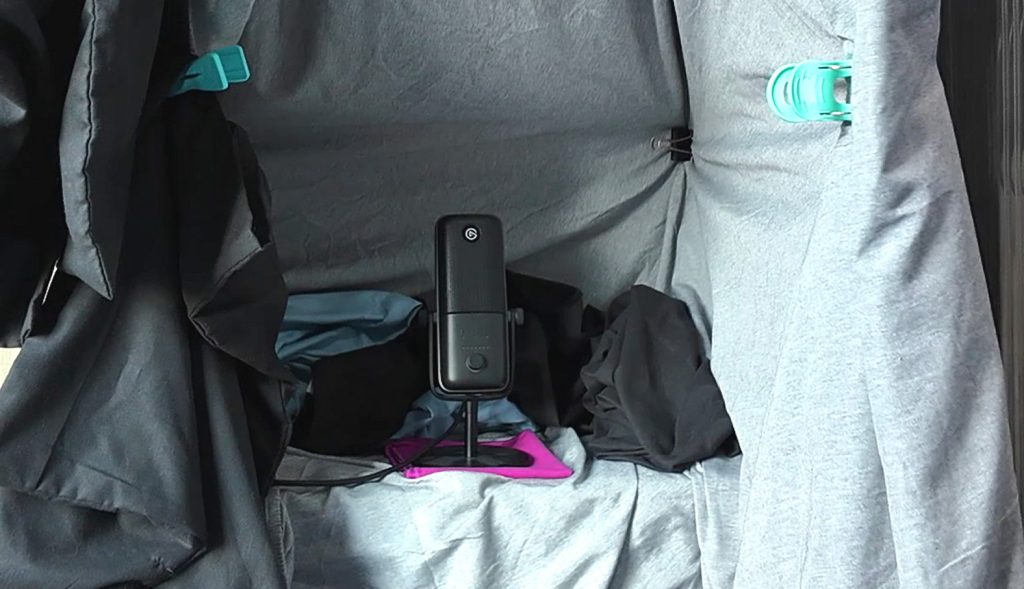
Despite this, I manage to get clean audio right from my apartment. Using a number of DIY hacks, best practices, and some much-needed audio software tweaks, I get usable audio and don’t even need to record in the middle of the night. It all starts with my home-made sound booth, made inside a wardrobe.
The Setup
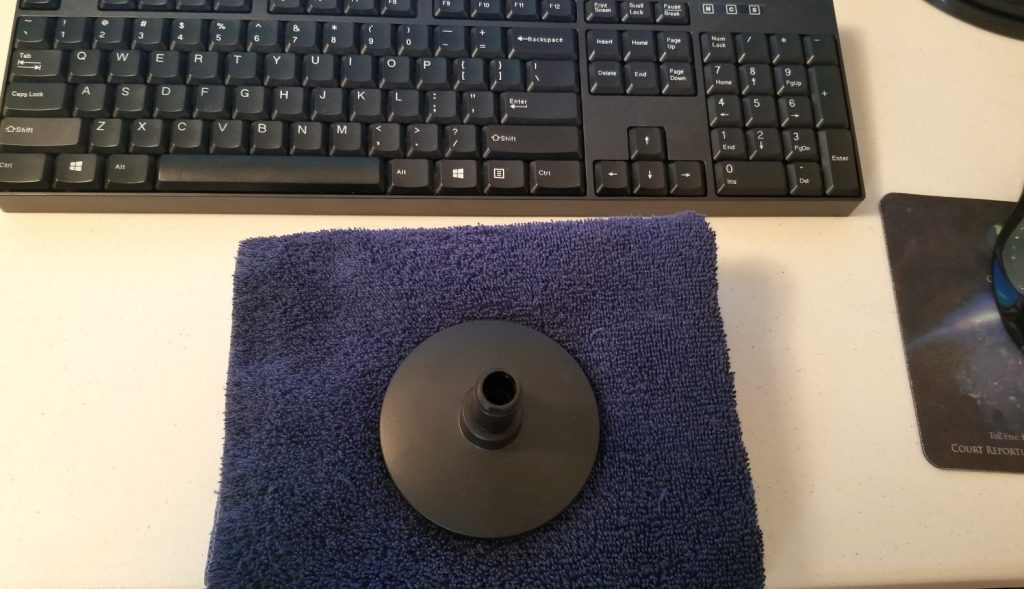
It may not look like much, but using nothing but some blankets and laundry clips, I was able to transform the built-in wardrobe in the bedroom into a serviceable sound booth. I started by lining the wardrobe with blankets, clipping them around the edges, and placing my microphone, an Elgato Wave 3, into the center. To keep any additional vibrations from coming through the microphone base, I placed the mic base onto a small folded-up towel. Turn off the air conditioner and close the door, and I’m ready to record.
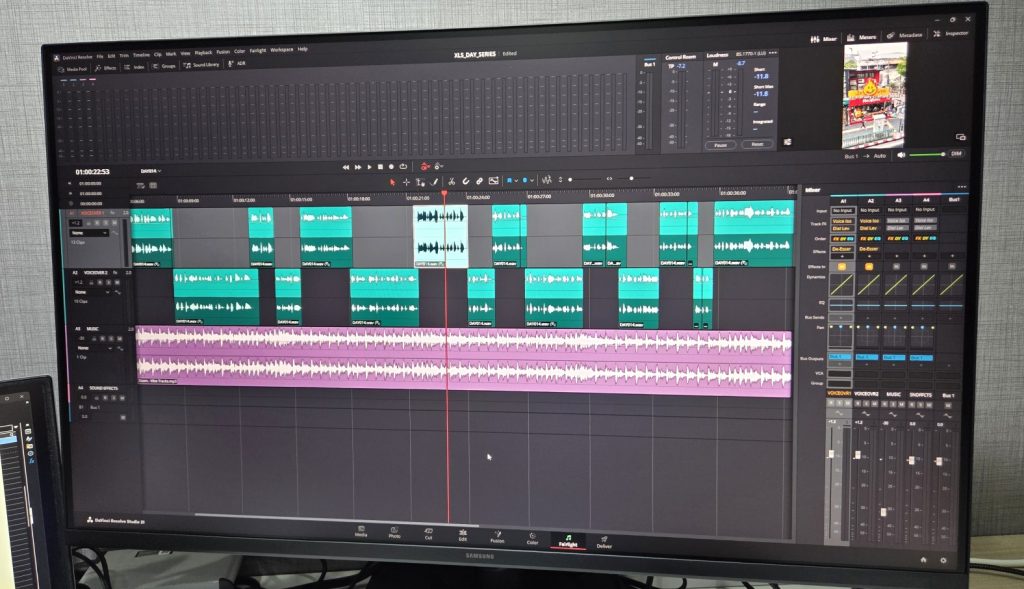
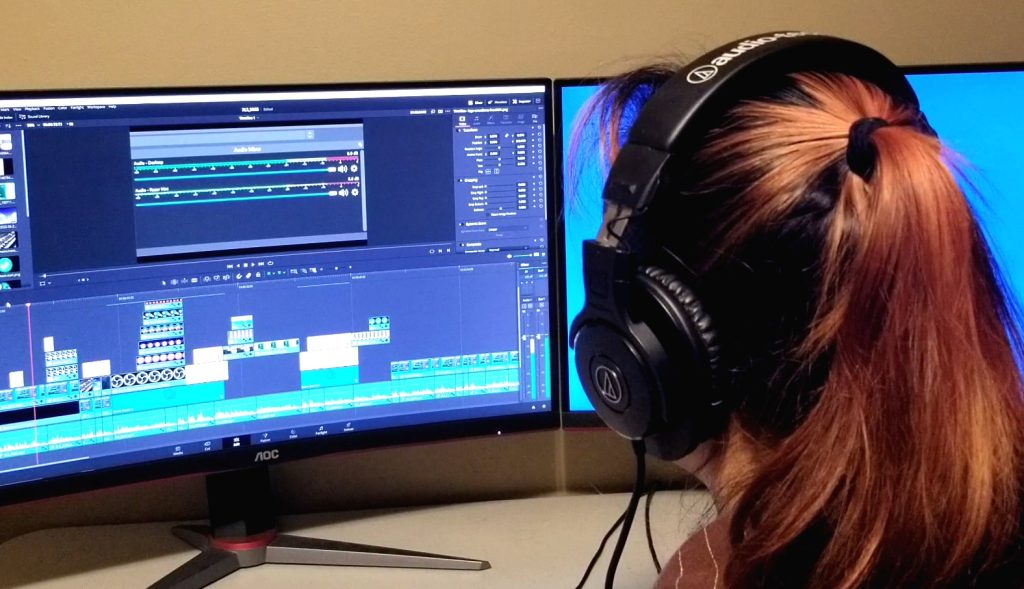
After recording, I then run the audio through a few software tweaks to clean up any remaining background noise and minimize issues with my slurring and pronunciation. Using DaVinci Resolve, I apply Voice Isolation, a Dialog Leveler, and a de-esser turned up as high as I can before it begins to make my voice sound tinny or robotic. Finally, I change the pitch just slightly by lowering it by 20 cents in order to bring back much of the deep fullness that the audio tools tend to strip out.
More Ideas
Implementing these tweaks will take you far in your voice recording or voice broadcasting journey, but they’re just the beginning of the myriad different things you can try in order to get your audio sounding exactly the way you want. Here are 20 tips that can help anyone who records their voice, whether they be voice artists, live streamers, or content creators:
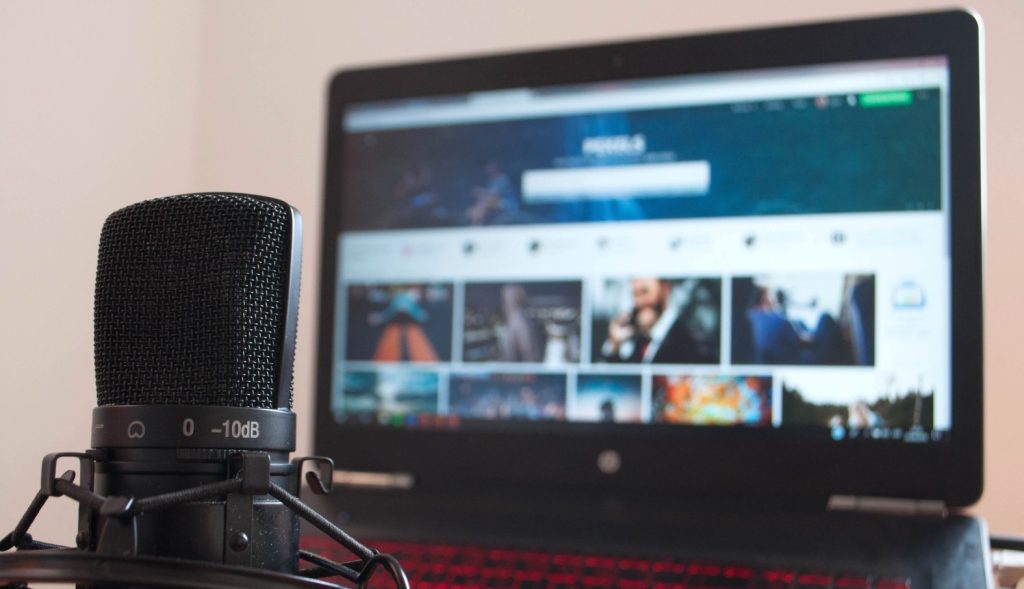
- TIP 1: Consider investing in a real microphone. The tiny built-in mics on laptops, phones, and tablets are really not all that great when it comes to quality. Just about any standalone USB microphone will provide superior recording straight out of the box. I started out with a Razer Seiren Mini as my mic, and it worked great for under $50.
- TIP 2: Pay attention to where you place the microphone. If possible, don’t place the keyboard and mouse between you and the microphone. Move the microphone in front of your keyboard and mouse to cut down on the noise from key presses and mouse clicks. Consider using quieter versions of keyboards and mice over louder mechanical versions.
- TIP 3: If you have a tabletop microphone stand, even if it’s got a thin padded base, try placing it on top of additional padding such as a folded-up towel or larger piece of foam. This will help prevent vibrations from coming up through the desktop.
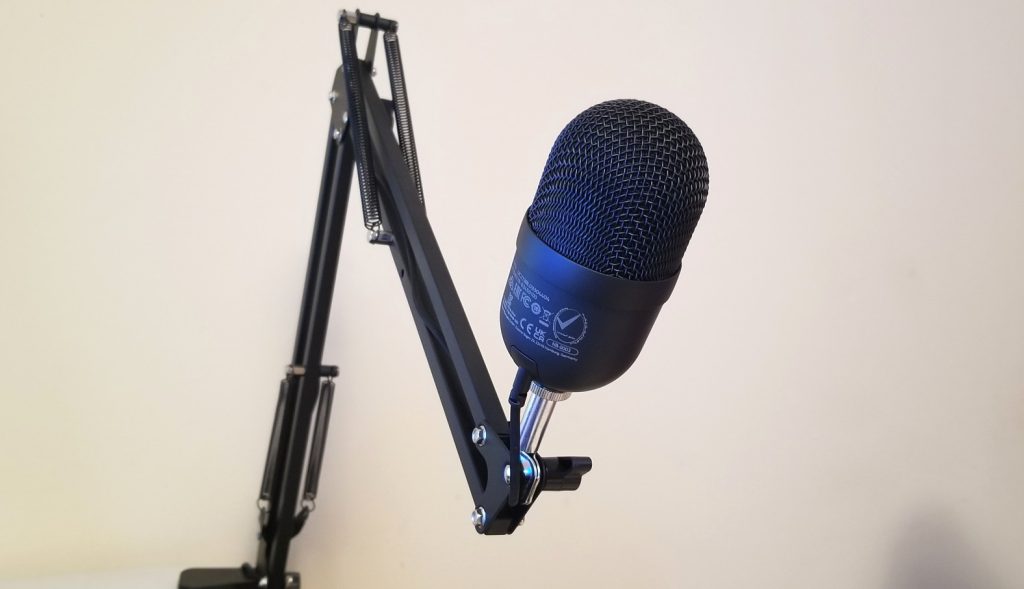
- TIP 4: Even better, consider investing in a microphone arm. This will even further reduce possible vibrations from the desktop and allow you to place the microphone at more angles in relation to your mouth. Live streamers will particularly find this helpful, as using a microphone arm to move the mic off the desktop will seriously help reduce the clicking sounds made by a keyboard and mouse.
- TIP 5: Install a pop filter on your microphone. A pop filter will help cut down on any wind noise as well as reduce the popping sound often made by pronouncing P’s and B’s. You can use a foam or screen version of a pop filter that’s made for your mic, or even use an old sock or thin piece of cloth in a pinch.
- TIP 6: Having the microphone roughly 6 inches from your mouth is often considered the optimal distance. A rough way you can measure that is to extend out both your thumb and pinkie on one hand. That distance is about 6 to 8 inches for an average-sized adult.
- TIP 7: Speak slightly over the microphone rather than directly into it. This will help reduce popping sounds, but will also help reduce additional unwanted mouth sounds like wet or smacking sounds.
- TIP 8: Be sure you’re speaking into the correct side of your microphone. Most mics are not omnidirectional, even cylindrical ones that may look like it. Mics often pick up sound far better from certain angles. Make sure that the angle is facing you.
- TIP 9: Consider what time of the day you’re recording. Very early mornings and later at night are often quieter times as far as background noise is concerned. Every environment is different, so your mileage may vary.
- TIP 10: Your voice sounds better when you’re relaxed. This may be from after a warm shower, meditation, or sleep. Your voice tends to sound deeper and fuller from having relaxed muscles and a calmer mental state. Be sure to be fully awake however, as rolling straight out of bed and into a voiceover will definitely be reflected in your voice.
- TIP 11: Stand up while you record. Not only will this get the blood flowing, but it will help keep your voice from sounding monotone. While this may not work for most streamers, voice over artists nearly always stand while recording.
- TIP 12: Speak with your hands. Just like standing while speaking, moving your hands around and gesturing while you record will help animate your voice and give it a more natural, conversational tone.
- TIP 13: Brush your teeth. Not only will this make your dentist happy, but it will also brush away all the nasty food particles covering your teeth, gums, and tongue. This will help give your voice a crisper tone and reduce unwanted wet and slimy mouth noises.
- TIP 14: Breathe between sentences. Many people tend to hold their breath as they speak through a paragraph. This causes them to strain towards the end as they begin to run out of air. This strain becomes noticeable in the quality of their voice. If you’re having trouble speaking through a very long or complex sentence, consider rewriting it into two sentences if that’s an option.
- TIP 15: Eat something sour. Many voice over artists and live streamers swear by eating lemon, sour apple, or sour candy right before or during recording to help speak more clearly. Even thinking vividly about eating a lemon can produce a similar response in the mouth and provide a bit of the same effect.
- TIP 16: Wear loose-fitting clothing. This is especially important around the chest and midsection. Loose-fitting clothing will help keep your muscles relaxed, lower your blood pressure, and give your voice a deeper, yet greater range.
- TIP 17: Practice before recording. This will not only warm up your voice, but will also allow you to better learn some of the source material if you’re reading from a script. This will also allow you to try out different inflections beforehand so you’re not just reading every sentence flat.
- TIP 18: Learn to read ahead in a script with your eyes as you’re speaking. This allows you to have the next phrase you’re going to speak saved up in your mind before speaking it. It also allows you to make proper inflections in the phrase you’re currently speaking since you know what you’re going to be saying next.
- TIP 19: Don’t split up sentences when repeating portions of a script. If you make a mistake, go back and re-record the entire sentence. This will make the final recording sound much more natural. I normally record each sentence 5 to 10 times, then pick out the best version afterwards.
- TIP 20: Record a small portion of audio as a test first, then listen to your test with the best pair of headphones you have. This will give you a good feel for your voice levels, background noise, and the overall quality you’re recording at. Listen for any pops, buzzing, or feedback in your test recording. This will allow you to make changes beforehand to ensure you’re recording or broadcasting at your absolute best.
The Takeaway
Over years of struggling with my voice recording quality, I’ve found many practical things that work for me. Overcoming dental issues only adds to the challenge. While the DIY sound booth, better quality microphone, and software adjustments have made the biggest difference, all of these tips have provided me with value. If you’re struggling, know that you will get better with practice. Consider trying some of these tips in your own voice setup. You may be surprised!