I Found a Gaming PC in the Trash
This video walks through how I found an old PC in the trash and brought it back to life using spare parts, upgrades, and a bit of troubleshooting. After replacing the dead drive, adding RAM, and installing a low‑profile GPU, the system turned into a surprisingly capable budget gaming machine:
I was picking through the trash yesterday as I often do, and I made a discovery… free computer. I’ll take it. It looks like it’s in pretty decent shape. The little front panel door is missing, but that’s not a big deal. Looking at the stats listed on the side, I was pleased to see that it originally came with Windows 7, so it wasn’t that ancient. Even better, it listed a quad core processor. Now we’re talking.
This Athlon 2 X4 645 CPU is pretty old, being released in late 2010. However, it’s four core, four thread, running at 3.1 GHz, so there’s certainly enough power here. In fact, I wonder if I can upgrade some of the components on this machine and maybe turn it into a nice compact gaming rig. That would be sweet. Well, before we get ahead of ourselves, let’s see if this thing even turns on.
It powers up, so that’s a good sign. And… we have a problem. Let’s see if this helps. Nope. Listening to the machine up close, I can faintly hear a grinding or scraping noise. Most likely this means the hard drive has died. Let’s boot the machine into BIOS and see what’s going on. Hold the Delete key while we boot up, and we’re in the BIOS. Let’s browse around a bit and double check the processor and memory, and confirm that the hard disk isn’t being recognized.
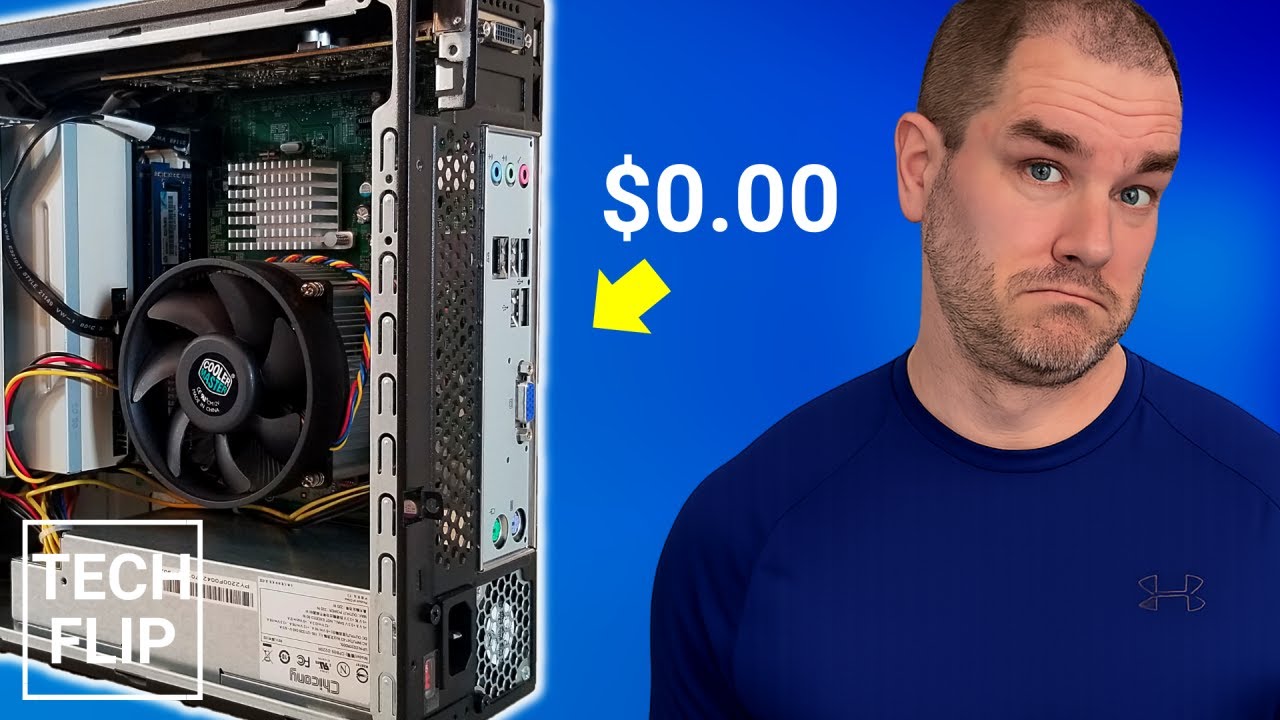
Not a big deal. I was planning on switching the hard drive out anyway for a spare SSD I had on hand. So let’s open this thing up and see what’s inside.
Now let’s try not to break all the little tabs off this cheap plastic front panel while removing it.
Let’s give it a quick cleaning.
Shout out to whoever owned this computer. This thing is pretty clean, hardly a dust bunny in sight. Now let’s get this drive chassis out and remove the broken hard drive.
I don’t have any brackets to fit a two and a half inch drive into a three and a half inch drive bay, so this SSD gets to just kind of sit there. This machine currently has four gigs of RAM. I wouldn’t consider that sufficient for a gaming machine nowadays, especially since I want to install Windows 10 on this thing. Since this machine takes DDR3 RAM, and since I have a ton of old DDR3 laying around, let’s quickly upgrade it to the machine’s maximum of eight gigs.
Now this can’t be any type of proper gaming machine using the ancient integrated graphics it came with. We need a standalone graphics card that requires little power and is small enough to fit into a case of this size. Luckily, I recently came across a broken Nvidia GeForce GT 1030 graphics card in my dumpster diving adventures. The only problem it had was a broken, burned out fan, though I simply found a fan of the same size in a bin full of old cards and swapped it out. Good as new.
We’re going to need to switch out the full size bracket on this card to a low profile bracket. Let’s find something that fits on this card.
Now that the card is ready, let’s punch out the PCI slot in the case to make some room for it.
Beautiful. Let’s hook the machine back up and install a fresh copy of Windows 10 on it.
Okay, after a couple hours of installing, upgrading, and adding video drivers, our new gaming machine is ready to rock. First let’s apply a decent overclock to the video card to maximize our performance and run some benchmarks.
Starting with Unigine Superposition benchmark, which is my go to when testing graphics stability, this machine achieved a score of 7739 at the 720p Low preset. The GPU utilization was also quite good, so things are looking promising so far.
Now let’s try out some game benchmarks. We’ll start with some easier stuff. Running Lost Planet at 1080p in the lowest settings, this machine was able to breeze through the benchmark with an average FPS of 106.7. The Resident Evil 6 benchmark running at 1080p in the lowest settings achieved a score of 5270, Rank A. The CS:GO benchmark map running at 1080p in the lowest settings achieved an average frame rate of 62.9.
Now let’s kick it up a notch and try some benchmarks that may be more challenging. Running the Street Fighter 5 benchmark using 1080p and Low picture quality, which includes a 50 percent resolution scale, this machine was able to comfortably hold a locked 60 frames per second.
The Final Fantasy XIV Endwalker benchmark running at 1080p Standard settings achieved a final score of 5557, which is a rating of Standard. Next we have the Borderlands 3 benchmark running at 1080p, 50 percent resolution scaling, and the lowest settings. This machine was able to pull in an average FPS of 35.7. Fairly impressive results so far for a gaming machine built for free using spare parts.
However, it’s not all sunshine and rainbows. We did run into a couple of issues that exposed the weaknesses of using a CPU as old as this one. First, when trying to run the popular Time Spy benchmark, the default test would not run at all. The Athlon 2 X4 processor in the machine lacks the advanced SSE3 instruction set required to run the test. This instruction set was not available in AMD CPUs until about a year after this CPU released, so Time Spy is a no go.
The second issue we ran into was benchmarking Shadow of the Tomb Raider. Running at 720p in the lowest preset, it did an okay job, achieving an average FPS of 37. However, there were noticeable delays in loading textures throughout the test, and results showed that the program was only GPU bound 14 percent of the time.
So in applications that are heavily CPU dependent or require the newest instruction sets, this machine will begin to have issues as time goes on. Still, all in all, I’d have to give this little spare parts gaming machine a thumbs up!
Some of the items used in this build:
Acer Aspire AX1420-UR10P SFF
AMD Athlon II X4 645
Nvidia GeForce GT 1030 2GB Low Profile
Micron 2.5 SATA 6Gb/s 256GB