How To Export Minecraft Bedrock Skins

I figured out a way to export Minecraft Bedrock skins and it’s way easier than most players realize. You don’t need mods, hacks, or special tools to do it. This guide walks you through a simple method that lets you grab your exact Bedrock skin and use it anywhere you want, including Java Edition or your favorite skin editor:
Yes! You can export your character skin out of Minecraft Bedrock. That exported skin can then be used to edit in a Minecraft skin editor, share with friends, import into graphic design programs, or use in other versions of Minecraft such as Java Edition.
It took quite a while to figure this out, however it’s actually super easy to do. We’re basically going to just connect to a test server, run two server commands in a browser, then download a copy of the skin. It’s almost too easy.
The first thing you’ll need is a working copy of Minecraft Bedrock. This can be on any platform as long as it has the ability to join custom servers.
Now let’s select the character skin we want to export. This skin can be a skin from the Character Creator, an imported skin you created, or a classic skin that you got from the store. Just about any skin should work as long as it uses a standard model.
Now that we’ve selected the skin we want to export, let’s connect to the test server. To do this, go to Play, then Servers, then scroll down to Add Server. The test server we’re going to use in this example is GeyserMC Test. In the server address field enter test.geysermc.org. Now click Play to join the test server.
Once we’re in the server, it’s time to pull up a web browser and run the first command to find our user ID. In any browser, run the command for your user ID by using this address. Be sure to replace the part at the end where it says your name with your actual gamertag. This will show us a simple page with a long set of numbers. That’s our user ID. Keep this browser window open as we’ll need this in the next step.
Command 1: api.geysermc.org/v2/xbox/xuid/YOUR_NAME
Now that we have our user ID, we can use that number to run the second command to find our texture ID. In a new browser window, run the command for your texture ID by using this address. Be sure to replace the part at the end where it says your user ID with the user ID we got from the first browser window. This will give you a large set of information about your user. The part we care about is a long 64 digit set of characters in quotes directly after the part labeled texture ID. This is what we need to download our skin.
Command 2: api.geysermc.org/v2/skin/YOUR_USERID
Now let’s open a third browser window and type in this address. Be sure to replace the part at the end where it says your texture ID with the 64 digits, no quotes, we got from the second browser window. This will download the PNG skin file from minecraft.net into your browser.
Command 3: textures.minecraft.net/texture/YOUR_TEXTUREID
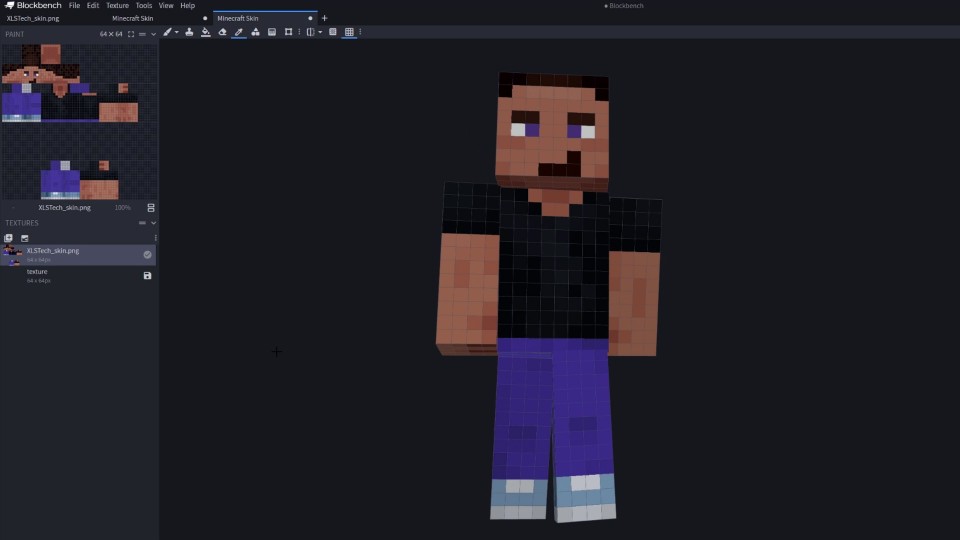
Now you can save the skin file to your computer, edit it, share it, or whatever you like.
NOTE: If you have any questions or trouble with the process, be sure to watch through the video, which may help explain the export process better.
NOTE: Also be sure to read through the many video comments, as a number of viewers have done different things to get around potential issues!