Add New Fonts to Windows
This video shows how to add new fonts to Windows 10 and Windows 11 using free and trusted font websites. It also covers how to install fonts, how to make them appear inside your programs, and how to remove them using the Windows Font Manager:
In this video I’m going to quickly show you how to add additional fonts to Windows 10 and Windows 11. Our first step is to find some free fonts that we can add.
There are dozens of sites online that have fonts available. However, my favorite sites to find free downloadable fonts are Google Fonts, DaFont.com, and FontSpace.com. Not only do each of these sites have thousands of fonts available, but they also don’t require account creation or signups or anything like that. I’ll have links at the bottom of this post to each of these sites if you would like to check them out.
For our example, we’re going to use Google Fonts. In a browser, go to fonts.google.com, select the font you’re interested in, and click Download Family. Click Save to download the file.
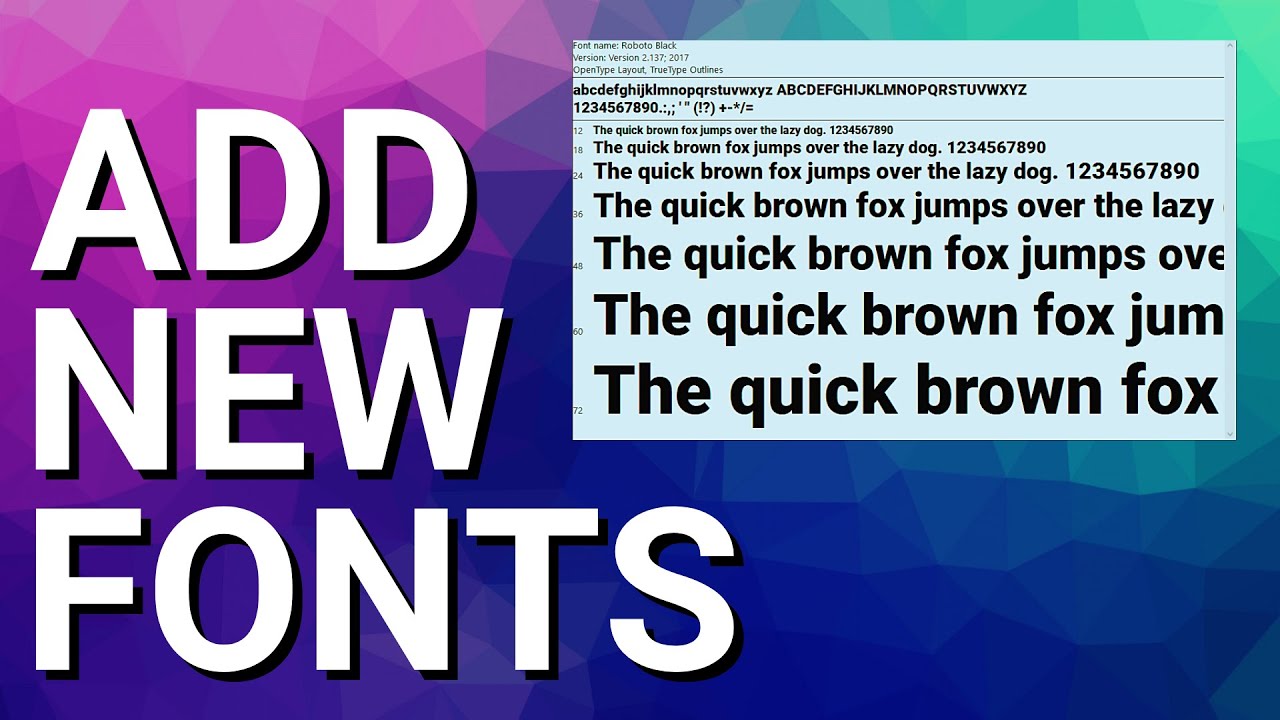
Go ahead and open the file that you just downloaded. This should open the compressed folder with your font or group of fonts inside. Double click the font to bring up its details, then click Install.
One quick word of warning: if you are already working inside a program that uses fonts, to have the new font show up in that program you may need to close and then restart the program.
Now to view all your installed fonts, or to remove the font we just installed, we can go to the Windows Font Manager. Use the Windows key or right click the Start button to pull up your search bar, type “font”, and then click Font Settings.
Here we can see all the fonts that are installed on the computer. To remove the font we just installed, scroll through the list of installed fonts and click on the font. Click Uninstall and then confirm.
And that’s all there is to it!
https://fonts.google.com/
https://www.dafont.com/
https://www.fontspace.com/